
TWO the Moon - 2nd Birthday Party Idea
Disclaimer: this post may contain affiliate links from various sites, including Amazon. As a member of the Amazon associates program, we earn a small amount from qualifying purchases when you use our referral link. This does not add any additional cost to you and helps with the expenses of keeping in Life and Littles up and running.
Every parent tells you that your kid grows up in the blink of an eye, but you don’t truly understand until its you. But it’s finally happened. I blinked and my sweet little baby boy is TWO. We spent his official birthday in Albuquerque at the Balloon Fiesta where he watched with hundreds of hot air balloons go up in the sky, listened to a mariachi band after the balloon landed and then atesome yummy mac and cheese for dinner. It was an ideal day for him. This past weekend, we celebrated with family and close friends. When I chose his birthday theme this year, it was based on one of his absolute favorite toys - his design and drill rocket ship - so this year, we went “TWO THE MOON” for his birthday! I’m sharing some of my favorite second birthday party details below!
After keeping the birthday party budget low last year, I knew I wanted to do that again this year. A little bit of work and DIY can go a long way if you’re willing to do it, which I am. I honestly love this kind of thing! This year, my goal was to stay under $50 for all of the party decorations, which I did by strategically shopping sales at Hobby Lobby and scouring Amazon for best prices.

The first decoration I always handle is making the banner, which typically is the theme written out. Last year, it said “ONE Happy Camper” and this year’s read “TWO the Moon.” For these, I always wander the scrapbooking section at Hobby Lobby. I was able to buy each of these sheets at 50% off and went went a deep blue/star paper for the majority. I used a thicker silver sheet for the letters. As a spacer, I found a “galaxy” style paper.
Using the Canva website, I found a banner shape I liked. I also found the font I wanted and printed each letter out in addition to a banner shape. I cut these out to make a stencil and then used that stencil on each of my special scrapbook pages. To make the banner a bit more sturdy, I also backed it onto natural colored cardstock I had left over from last year’s party.

I DIY’d these letters as well to look like a “galaxy” style using what Hobby Lobby named paper mache letters and some paint. I did a quick google search on how to do marble styling, decided none were how I wanted it to look and then just winged it! I love how they turned out. After R’s party, I actually passed these letters on to Emily so she can repaint them for E’s party if she wants. I love a good reuseable decoration!


Hobby Lobby was my source for a majority of my other decorations. I was able to get everything I'm about to list for just TEN dollars. No, they weren't necessary so you could easily do a space themed party and skip out on these, but I think they were a fun addition.
- Cupcake Toppers - which I used on cookies too!


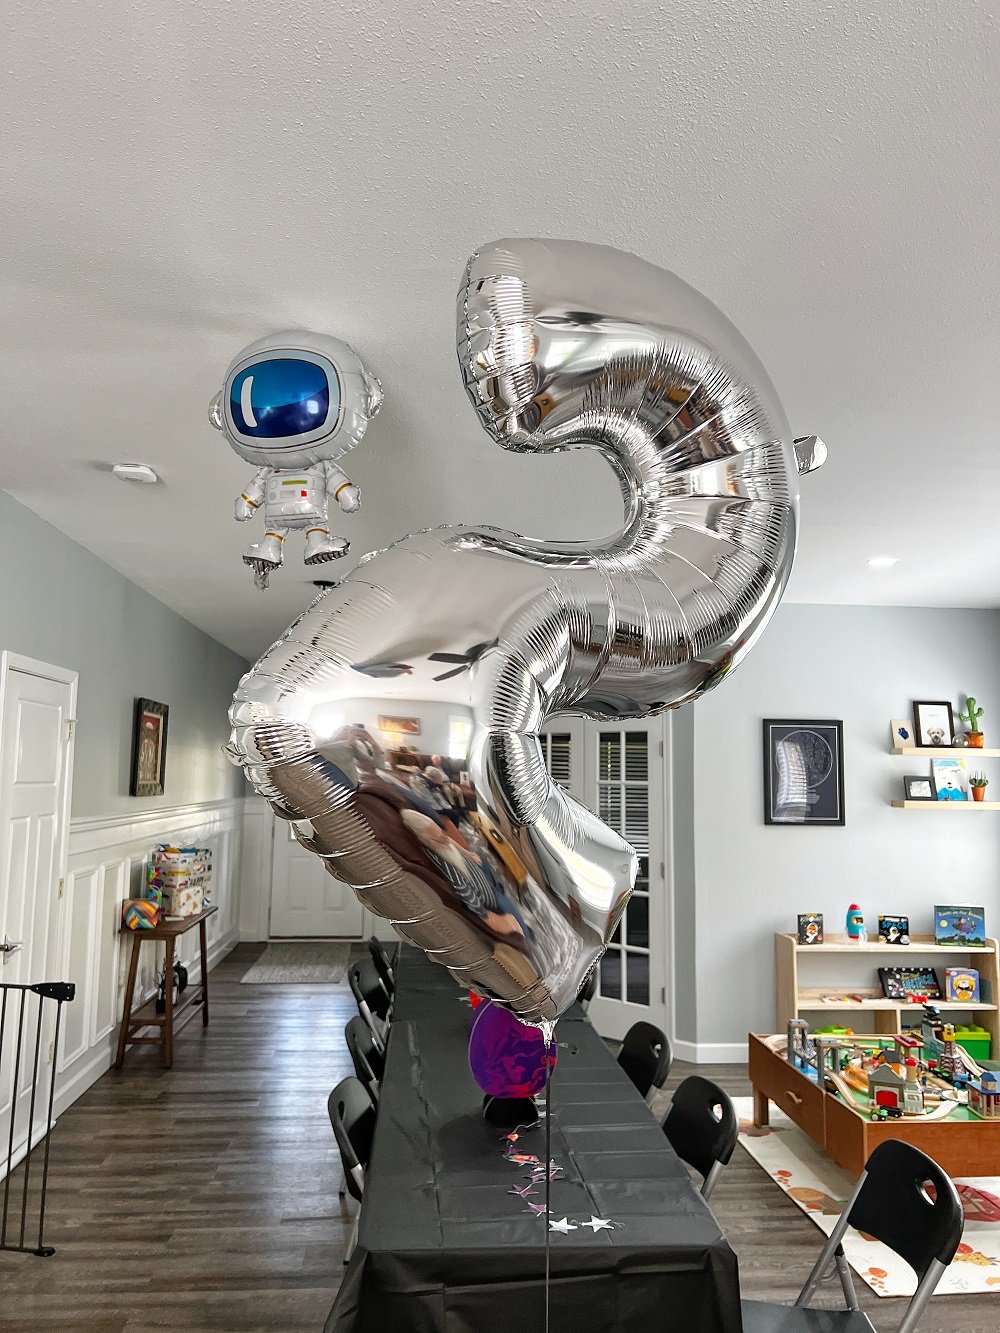
For R's first birthday party, I talked myself out of doing a balloon arch because I thought it would be "too much." Then, I saw my cousin do one for her daughter's first birthday and it looked SO good. It adds so much character and decoration for a low price if you are willing to assemble it yourself, which I was. I ordered this space themed balloon arch kit from Amazon for $12 and it came with everything I needed for the arch, some silver hanging stars, and bonus space themed balloons like an astronaut and rocket ship. I assembled it the night prior in about an hour while watching TV, which is definitely the way to do it - less headache on party day!
We hung the balloon arch the next morning and I did notice some of the balloons had deflated a bit so I spent about 5 minutes rearranging them. Next time, if I make it in advance, I'll overinflate them a bit to account for this. Once the arch was up, I hung silver stars all along the back to make a cool backdrop. Some did come with the kit, but I ordered some extras for about $13 so I could use them throughout the entire space.

I can claim zero percent of this bonus decoration and owe all of it to my Uncle, who is by far one of the most talented people I know. You might remember him as the artist of R’s mountain mural, or E’s jungle mural, or little L’s safari room. Back when I was younger, he made birthday and new baby yard signs that would “appear” in yards the night before and would stay for a few days. They always has a momento part of the board personalized that the individual was able to keep. He brought back the signs for L’s 1st birthday (his granddaughter!) and I asked him to do one for R’s too as his birthday gift. All I told him was a space theme and left the rest to him and I was BLOWN AWAY by what showed up at our house! How fun is this?! The best part, R gets to keep the blue star and we had all of the guests sign a message to him on the back. Truly a special keepsake.
I know not everyone would be able to have something like this, but I wanted to share it as inspiration. If you are artistic or have a friend/family member that is, a small on theme keepsake would be such a fun idea!


