
One Happy Camper - 1st Birthday Party Idea
Disclaimer: this post may contain affiliate links from various sites, including Amazon. As a member of the Amazon associates program, we earn a small amount from qualifying purchases when you use our referral link. This does not add any additional cost to you and helps with the expenses of keeping in Life and Littles up and running.
I swear… I have no idea where the time has gone. In less than 2 months, I’m going to have a 2 year old and I am seriously struggling to wrap my mind around that. As I start to think about R’s 2nd birthday party theme, I realized I never shared any details of his 1st birthday party with you! If you remember, we are big outdoor/hiking/camping fans - we even themed Rayland’s nursery as “On Top of Mountains” with the most amazing mural - so it should come as no shock that for his 1st birthday party he was “ONE HAPPY CAMPER.” I’m sharing some of my favorite first birthday party details below!
As much as I LOVE a good theme party, it seems really extravagant to me to spend hundreds upon hundreds of dollars for a first birthday party. Especially when (let’s be real) this is more for the parents than the kids. For R’s birthday, I wanted to make sure I kept everything within a reasonable budget which meant I DIY’d a lot of the items and made (most) of the food myself with some family help!

When we chose the ONE Happy Camper birthday party thing, I immediately started thinking about camping friendly dishes. For the main meal, we made up a bunch of sloppy joe meat in a crock pot which was an awesome budget friendly option. We had buns and some bagged salad mixes to go with it, but my favorite part of the whole meal was this build your own trail mix station. It was such a big hit and was so fun seeing what trail mixes everyone came up with.
For this “station” I used various shapes and sizes of jars and vases I had or could borrow from family to put each of the trail mix fillings in. The different designs gave it a fun look and helped to fit each ingredient appropriately. These are the options we had on our DIY trail mix bar:
Peanuts
Almonds
Peanut Butter Chex
Caramel Chips
M&Ms
Cashews
Raisins
Coconut Shreds
Pecans
I printed off the labels on regular computer paper, cut them out and attached them to some natural colored card stock. For the sign, I used a dollar store frame, a printout on computer paper and a sheet of plaid paper I got from Hobby Lobby for about 50 cents to create a border. This is a really easy way to personalize this idea to your theme!

When it came to dessert, I knew I wanted to get some cookies that matched the One Happy Camper birthday theme. I found a local baker who could customize them for me and while this is definitely my biggest expense of the party, it was worth it! The camping themed cookies came in various designs such as a bear paw print, a smore, campfire, or the letter “R” for my son’s name! This is becoming a popular trend now so it’s definitely getting easier to be able to buy cookies like this local and I am here for it!


I found this “One Happy Camper” shirt on Etsy and knew it was perfect to go with our theme. We got a 12-18 month in size and it was a little big on R, so I’d say it runs pretty true to size if you decide to buy this or another similar one from this Etsy shop.
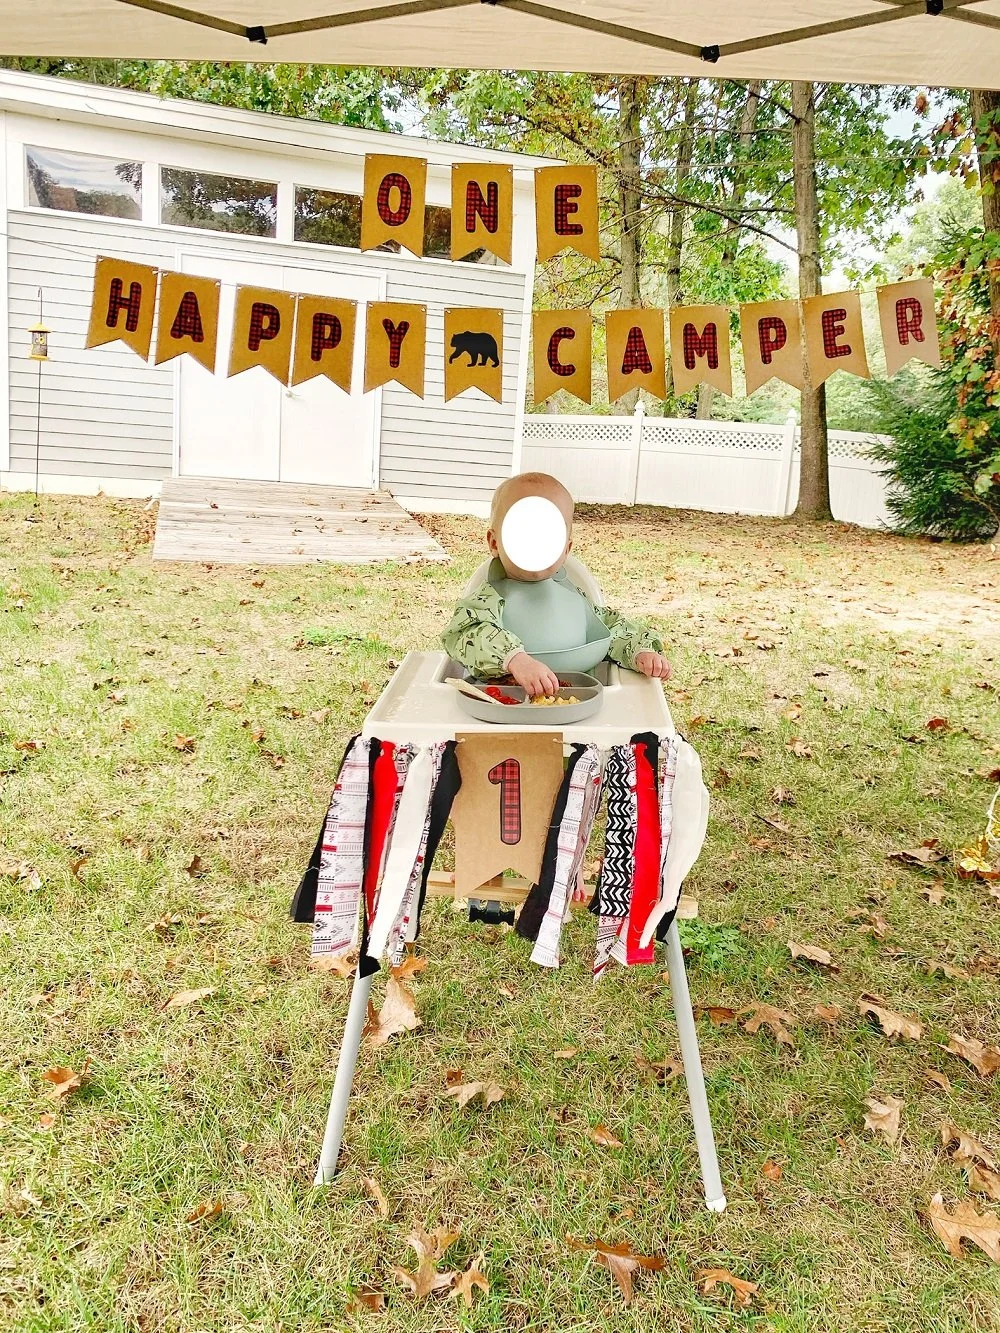
When it comes to traditional decorations, we kept this at a minimal cost and I DIY'd all of them. They included a first birthday banner that read "One Happy Camper" and a fabric highchair banner. I did also do a banner that had 1 photo from each month of his life, but I forgot to take a picture of it...so you'll have to take my word on that :)
For the highchair banner, I bought fabric squares that went with my theme at Walmart. I also used more of the natural colored card stock and cut out a "flag" style shape for the center. I used another piece of the plaid paper (referenced earlier) from Hobby Lobby and cut out the number "1" before gluing it on this piece. I strung twine through a couple hole punches on each side. Then, I cut the pieces of fabric I had purchased into strips about 1" wide. I tied them around the twine on either side of the 1" banner until the pattern was how I liked. Once party time came, I tied it around R's Ikea Antilop highchair for an easy, fun decoration.
For the main banner, I cut out "flag" pieces like I did for the highchair banner. I then cut out each letter on the plaid paper from Hobby Lobby. I used an exacto knife which made this process a lot easier! I also printed a bear image off online and cut that out on a piece of black card stock. Once I did that, I cut 2 pieces of long twine. On the top, I strung the word "one." On the 2nd piece of twine, I strung the words "happy" and "camper" with the bear between. This was hung between two corners of a pop up tent that became the back drop for the highchair during cake smash time.
For a finishing touch we added a couple simple balloon bundles purchased from our local Meijer grocery store. All in, it was a bit more work, but these decorations cost less than $30 and were perfect for our One Happy Camper theme.
What do you think of this theme? Is there any other decor you would have been sure to add?

