Construction Sensory Bin with Taste Safe Play Mud & Dirt!
Looking for a fun, sensory friendly way to help develop and expand your child’s fine motor skills? This construction sensory bin has been the biggest hit so far and is so easy to make! R loves being able to drive his bulldozer through the play mud, fill his dump truck with “dirt” and relocate it to another pile. Read on to see how easy it is to make this taste friendly sensory bin.
Disclaimer: this post may contain affiliate links from various sites, including Amazon. As a member of the Amazon associates program, we earn a small amount from qualifying purchases when you use our referral link. This does not add any additional cost to you and helps with the expenses of keeping in Life and Littles up and running.
Some sensory bins don’t require much clean up and some do. This construction sensory bin might get your kid and table a little messier but the fun they have will be so worth it! Play mud and dirt is definitely R’s new favorite when it comes to sensory bin bases and he gets so much enjoyment from it that I don’t mind the little extra clean up there is later. Especially when you can get him involved in it - like making sure his construction trucks make it to the “car wash” after! I especially love that this construction sensory bin has a taste friendly base, is easy to make, and can be used more than once - construction sites are messy after all! Below, we will recap what you need to make this play mud filled sensory bin and give you a few options on how you can prompt your kids creativity!
What You Need for the Construction Sensory Bin:
- 1 cup corn starch
- 1/4 cup cocoa powder
- 1 cup water
- cheerios
- meat hammer/mallet/rolling pin
- ziploc bag
- construction vehicles or other play cars
Let’s Make Play Mud!
There are two steps for assembling this sensory bin. We love easy activities like this!
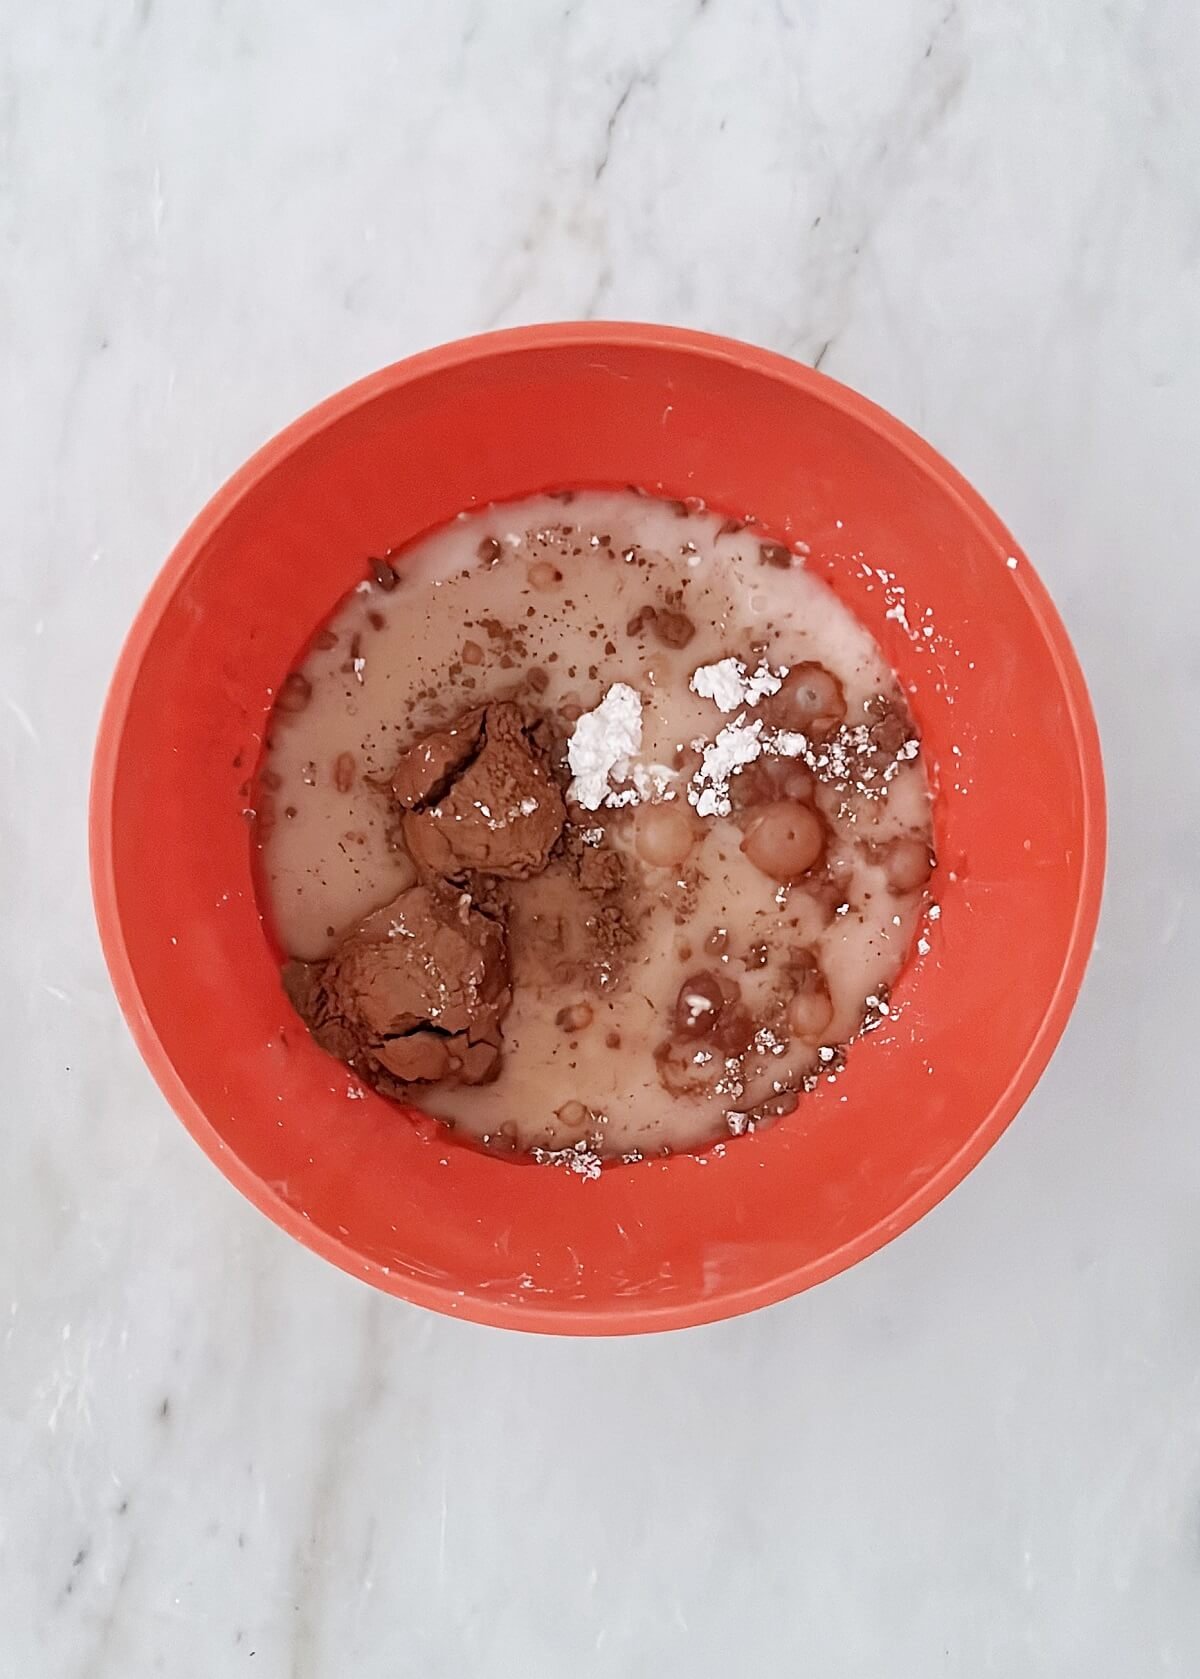
Pour corn starch and cocoa powder into a large bowl.
Then, add the water and mix.
Mom tip: Add additional water 1 TBSP at a time if you prefer a thinner consistency or another 1-2 TBSP of corn starch for a thicker consistency. Thinner mud is easier to drive through, but thicker mud makes it more “buildable” if you are trying to really move it around. Keep in mind, the “dirt” will absorb some of the moisture and mud when you add it in!
Time for Some Play Dirt!
Making this play dirt is super easy but does require a little muscle.
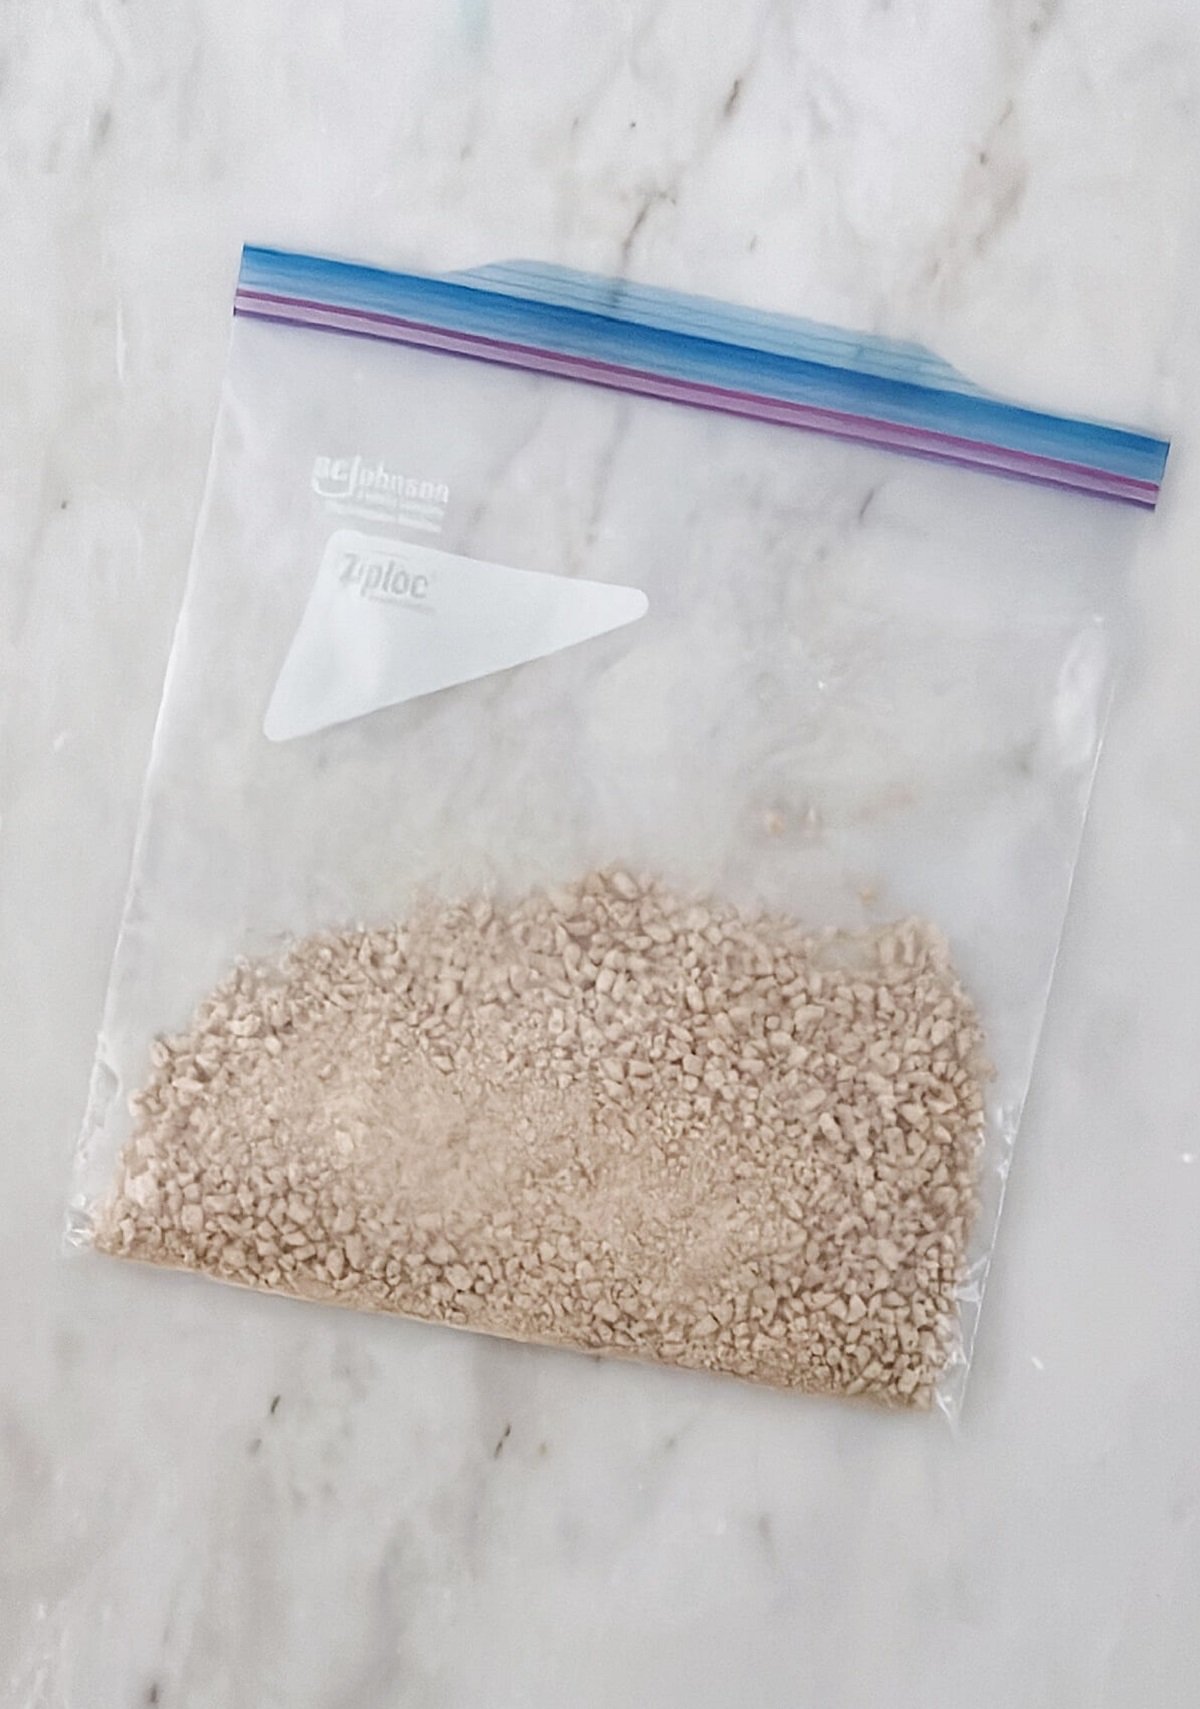
Pour cheerios into a large ziploc bag and seal.
Use your meat hammer, mallet, or rolling pin to crush it to your desired consistency.
Mom tip: Leave some of the cheerios less broken down and pretend they are “stones” in the dirt!
How to Assemble this Sensory Bin:
Now that you have your play mud and play dirt all made up for this construction sensory bin, it’s time to assemble!
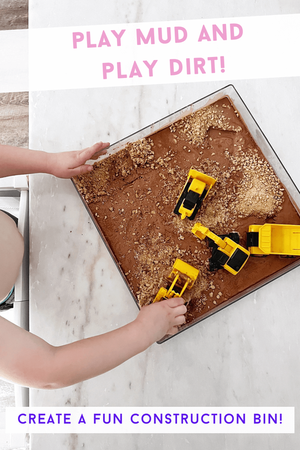
Pour mud into the bin you are using. I use this 12” x 12” square tray from Target’s brightroom line, which is 2” deep. I prefer this more shallow bins like this that give a wider playing surface and find the less deep the base, the less mess there is.
Place your dirt on the mud where you’d like. You can create dirt piles, large areas of dirt, whatever you like! I typically create piles since R likes the bulldozer and dump truck to move and offload it other places.
Drop in your construction vehicles and let the fun begin!
Start the Fun!
This bin itself doesn’t require much direction for your child to enjoy it. What’s more fun that driving through mud and pretend construction? They can move dirt, push the mud around, whatever their imagination chooses to do! If you prefer to have some guided activities, or want ideas on other ways to play, keep on reading!
More Ways to Play!
These are several ideas of different ways your children can learn and play with this bin:
Form the piles:
Start with one large dirt pile and have your child sort it out into three (four, five, etc) separate piles!
Have the dumptruck relocate the dirt:
Instruct your child where the dirt should be and have them use their vehicles to move it there.
Clear the land:
Is the city about to start construction on a building? Better get all the dirt and mud out of the way! The dirt will help keep the mud contained so use it to build a “wall” as you push the mud aside.
Bury the vehicles:
Cover your vehicles with the mud or bury them under dirt. Have your child use a spoon or their hands to dig them out!
Clean the Vehicles:
Once your child is done playing, have them help in the clean up by taking all of their construction vehicles to the car wash! Grab a separate bin, some warm soapy water and an eye dropper. Have the vehicle do it’s final run in the mud and then hop over to your empty bin where they can clean it up by dropping water all over. Added bonus if you have a toothbrush or other cleaning “supplies” you can give them.
Each of these ideas is a fun way to keep your child involved with this construction sensory bin idea, but I’m sure there are some that I missed. Tell us below how else you would use this sensory bin!


